

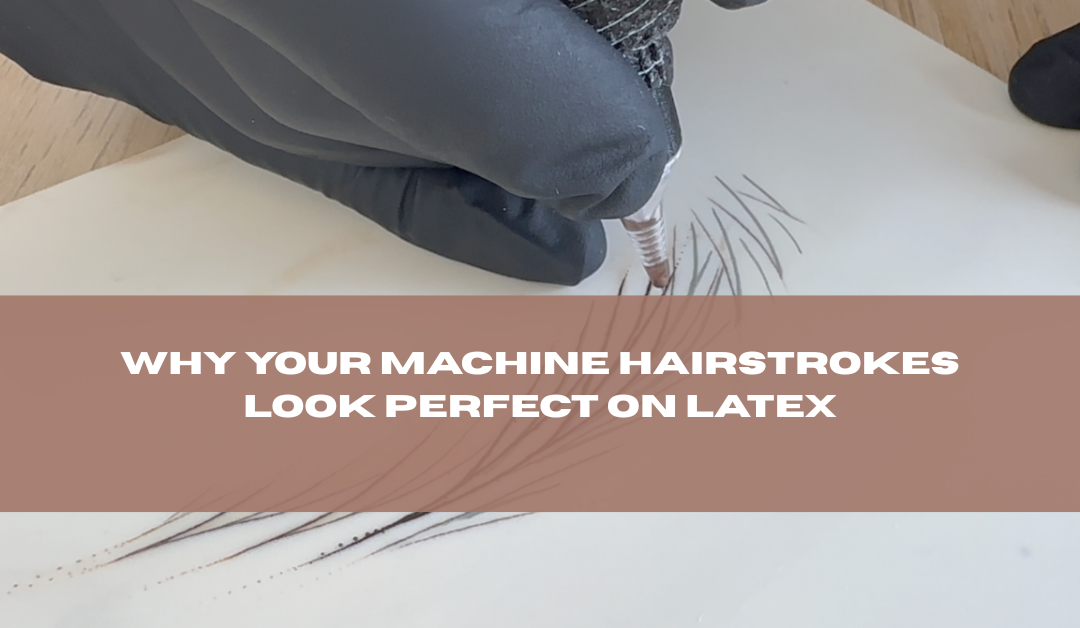
The strokes look crisp. Clean. Beautifully tapered.
Then you move onto real skin… and suddenly the pigment won’t stay, the strokes blur, or they heal almost completely gone.
This is one of the biggest struggles beginner PMU artists face with machine hairstrokes.
And most of the time, it’s not your effort that’s the problem.
It’s your technique foundation.
Many artists are taught how to create soft, shaded strokes — but not how to create truly crisp hairstrokes that actually heal well in the skin.
In this post, we’re breaking down exactly how to practice crisp hairstrokes on latex so your skills transfer properly onto real clients.
Watch the Full Demonstration Here
Why Latex Practice Doesn’t Translate to Skin
Latex is forgiving. Skin isn’t.
On latex, you can often get away with:
- Moving too fast
- Poor depth control
- Overworking strokes
- Inconsistent pressure
And the stroke still looks decent.
But on real skin, those habits lead to:
- Poor healed retention
- Blurry strokes
- Missing pigment after healing
That’s why your latex practice needs to mimic real implantation as closely as possible.
The Machine Setup for Crisp Strokes
The machine used in this demonstration is the Cheyenne H2 Power Babe with a 3.5mm long stroke.
Longer stroke machines help implant pigment more efficiently and create cleaner saturation through the middle of the stroke.
The needle used is a:
1 Round Liner 0.35 Capillary Needle
Thicker needles work especially well on latex because they:
- Deposit pigment faster
- Improve visibility while learning
- Help create cleaner saturation
The capillary design also helps hold pigment inside the nozzle, reducing excess mess while working.
The Real Secret: Your Hand Motion
Crisp hairstrokes are created through movement.
The technique used here is slow, controlled, and precise:
- Needle stays inside the latex
- Small “tic-tac” movements through the stroke
- Fast flicks at the ends for tapering
That fast flick creates the soft pixelated ends that make hairstrokes look natural instead of blunt.
The middle of the stroke should stay more saturated, while the ends remain softer and lighter.
Slow Hand = Better Strokes
One of the biggest mistakes beginners make is working too fast.
For crisp hairstrokes:
- Slow hand
- Slow voltage
- Maximum precision
Many artists practicing crisp strokes work around 4.5 volts or lower to maintain better control and avoid crossover or blurring.
The Best Pigment Type for Beginners
The pigment used in this demonstration is AMIEA Evo 2, an inorganic-based hybrid pigment.
For beginner artists, inorganic or hybrid pigments are often easier to control because they:
- Heal softer
- Blur less aggressively
- Fade more predictably
This gives you more forgiveness while developing your technique.
The Goal Isn’t Just Pretty Latex
Anyone can eventually create nice strokes on latex.
The real goal is creating strokes that:
- Implant correctly
- Heal visibly
- Stay crisp long-term
- Look natural on real skin
That’s the difference between practice… and transferable skill.
Ready to Practice This Pattern?
There’s also a free pattern challenge available inside the Hyperrealism Brows Foundation Group, including:
- Printable PDF patterns
- Step-by-step stroke breakdowns
- Guided practice exercises
Perfect if you want to follow along and improve your hairstroke consistency at home.
Want to charge premium prices and attract high-end PMU clients, without doing it all alone?
If so, join the Hyperrealism Brows Foundation community, it’s free to join and you’ll be alongside over a thousand other artists who are all working towards the same thing.
Artists who share their practice work, ask the questions you didn’t know you were allowed to ask and remind you on the hard days that you’re not doing this alone.
Free training covering mapping, patterns and business advice are waiting for you from day one.

See you inside,
Kim x
 Chat via WhatsApp