

Get Free Hyperrealism Brows Pattern Training: HERE
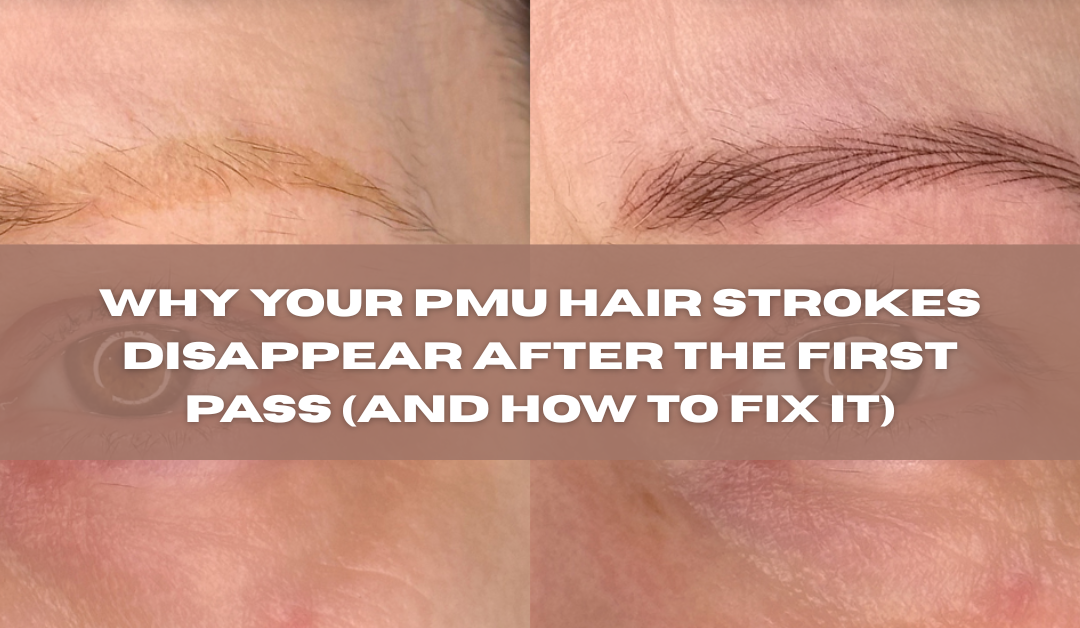
Have you ever finished your first pass of hairstrokes…
Wiped the skin…
And then felt that sinking feeling when the strokes you just worked so carefully on are barely visible?
It’s frustrating. Disheartening. And it makes the rest of the treatment so much harder than it needs to be.
Because once you lose those initial strokes, you lose your guidelines — and everything becomes guesswork.
For a long time, many artists assume this comes down to technique alone.
But in reality, getting crisp, visible hair strokes on the first pass comes down to three key things that most artists are overlooking.
Let’s break them down.
Prefer to Watch Instead?
If you’d like to see this demonstrated step-by-step on real skin, you can watch the full video here:
Why Your First Pass Isn’t Crisp
Before we fix it, let’s be honest about what’s really happening.
If your strokes aren’t visible after the first pass, it’s usually not because you’re “not good enough.”
It’s because one (or more) of these three things is off:
- Your pre-sketch isn’t precise
- Your machine or needle setup isn’t suited to the skin
- Your hand movement isn’t designed for hairstrokes
When these don’t align, even skilled artists struggle.
1. Your Pre-Sketch Is Setting You Up to Fail
This is the most overlooked step.
If your pre-sketch is thick, messy, or slightly smudged, your first pass will be too.
And I see this all the time.
After a long mapping session, it’s tempting to rush into tattooing.
But here’s the problem:
A messy pre-sketch doesn’t give you a clear line to follow.
It gives you a zone.
So when you place your needle, you’re not tracing a precise path…
You’re guessing where inside that thick line the stroke should go.
And that’s where things start to fall apart:
• strokes sit too close together
• strokes drift slightly off placement
• lines look wobbly or inconsistent
Even if your hand skill is good.
The Fix
Your goal is simple:
Your pre-sketch should look like the finished result.
That means:
• ultra-fine lines
• clean, sharp strokes
• no smudging
At that point, your job becomes easy.
You’re no longer figuring things out while tattooing…
You’re simply tracing a clear, precise guide.
And that alone massively improves your first pass.
2. Your Machine & Needle Choice Matters More Than You Think
Even with a perfect sketch, the wrong setup will hold you back.
This is where many artists go wrong.
They use the same machine and needle for every client, regardless of skin type.
But PMU doesn’t work like that.
What Usually Happens
An artist starts with a one round liner.
They do a few strokes…
Wipe…
And nothing shows.
So they panic.
They switch to:
• a 3 round liner
• or even a magnum
Yes, pigment goes in easier…
But now the strokes are:
• thicker
• less precise
• less realistic
So they’ve fixed saturation…
But lost the crispness completely.
The Fix
If you want fine, crisp hairstrokes:
You need a 1 round liner.
There’s no real workaround for that.
But you also need to match your setup to the skin.
Machine
• Long stroke machines (e.g. 3.5mm) → more power, faster pigment implantation
• Short stroke machines → better for sensitive or mature skin
Needles
• Fine strokes → 0.30 1RL long taper
• Slightly thicker strokes → 0.35 1RL
And if the client has thicker or oilier skin, you may need to adjust accordingly.
There is no one-size-fits-all.
The right setup makes your job easier.
The wrong one makes it feel impossible.
3. Your Hand Technique Is the Game Changer
This is where everything comes together.
Because even with:
• a perfect pre-sketch
• the right needle
• the right machine
If your hand movement is off…
Your strokes won’t be crisp.
The Most Common Mistake
Using a pendulum (etching) movement.
This works well for:
• shading
• powder brows
But not for hairstrokes.
It creates a soft, pixelated effect, not a clean line.
The Fix
To create crisp hairstrokes, you need to do the opposite.
Instead of brushing over the skin…
You need to stay in the skin.
That means:
• entering the skin once
• moving slowly along the stroke
• not lifting the needle mid-stroke
One continuous motion.
Why This Works
This technique:
• reduces trauma to the skin
• deposits pigment evenly
• creates a clean, saturated line
And most importantly…
It gives you that crisp first pass result.
Speed Matters Too
This is where many artists rush.
But speed is everything.
I typically work at:
• 5–6 volts
• with a slow, controlled hand movement
If you move too fast:
The pigment doesn’t have time to enter the skin.
And your stroke disappears.
Bringing It All Together
When you combine all three:
✔ A fine, precise pre-sketch
✔ The correct machine and needle for the skin
✔ Slow, controlled hand movement
That’s when everything clicks.
That’s when your first pass becomes:
• visible
• crisp
• clean
And the rest of the treatment becomes so much easier.
Final Thoughts
If your first pass isn’t showing up the way you want…
Don’t immediately assume it’s your skill.
Take a step back and look at the process.
Because most of the time, it’s not one big mistake.
It’s small things compounding:
• slightly messy sketch
• slightly wrong needle
• slightly incorrect movement
Fix those, and your results change quickly.
Want to Improve Your Technique Faster?
If you’re still struggling with:
• creating realistic patterns
• working across different skin types
• building confidence in your strokes
Then you don’t have to figure it out alone.
Inside my training and community, I go much deeper into:
• mapping
• pre-sketching
• stroke patterns
• technique refinement
• and building a fully booked PMU business
Because this isn’t just about better brows.
It’s about building a business that actually works for you.
Want to charge premium prices and attract high-end PMU clients, without doing it all alone?
If so, join the Hyperrealism Brows Foundation community, it's free to join and you'll be alongside over a thousand other artists who are all working towards the same thing.
Artists who share their practice work, ask the questions you didn't know you were allowed to ask and remind you on the hard days that you're not doing this alone.
Free training covering mapping, patterns and business advice are waiting for you from day one.

See you inside,
Kim x

 Chat via WhatsApp